How to Setup SchoolPass
How to Setup SchoolPass
Version 1.1.0
About SchoolPass?
SchoolPass is a PHP-powered self-hosted website that allows you to easily generate students and employees’ school identity cards. SchoolPass is a simple web application that is a great fit for almost any school, college, or many other uses. With its clean and modern design, SchoolPass can help you look more professional to your school or college. It is secure and easy to use for low-coding knowledge users. Can be hosted on a local school intranet using XAMPP on a Windows PC or on a Linux web server. If you have a little HTML/CSS knowledge, it’s easy to change the card size and design.
Support
Feel free to contact us at any time. We’ll feel happy to provide you the best support. If you have any queries, please contact us: [email protected]
How to Installaton?
If you have already downloaded the SchoolPass from Codester, installation is easy; that will set up everything you need (database tables, configuration files) to use the application. You can also use your Windows PC to set up SchoolPass using XAMPP; please follow the tutorial.
Server Requirements
In order to install SchoolPass application, your server must meet following requirements:
- PHP >= 7.4.x, 8x
- MySQL or MariaDB
Create a Database
Create a database with utf8mb4_general_ci character encoding and grant all permissions. Note your database name, username, and password.
Uploading SchoolPass Files
- Connect to your hosting or server using cPanel, Plesk, or other control panels.
- Open File Manager and navigate to the root folder of your domain. For example, it may be “public_html in cPanel, “httpdocs” in Plesk and “htdocs” in xampp.
- Upload the file “schoolpass.zip” to the root folder of your domain.
- Extract the contents of the “schoolpass.zip file into the root folder.
You are now ready to install the schoolpass.
Installing the SchoolPass
- Go to: https://yourdomainname.com/install/install.php
- You will see the following screen of schoolpass’s setup page.
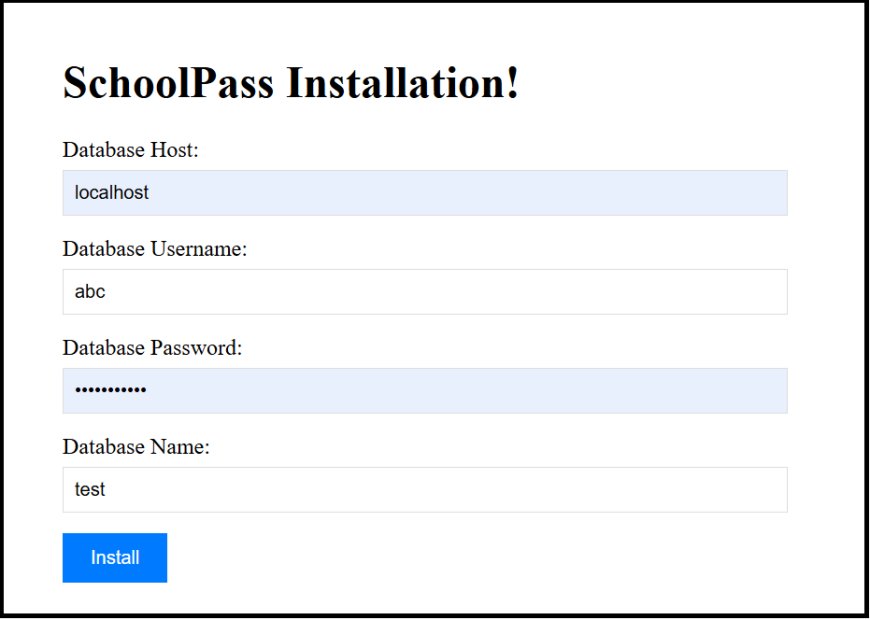
In this step, you will enter the information of the database you created above.
- Database Host: Enter your database host address “localhost” or IP address 127.0.0.1.
- Database User Name: Enter the username of your database.
- Database Password: Enter the password of your database.
- Database Name: Enter the name of your database.
After filling all the fields, click the Install button.
If the installation completes successfully, you will see the login page, you can log in now. A new file name “config.php” created in root folder with database credentials.
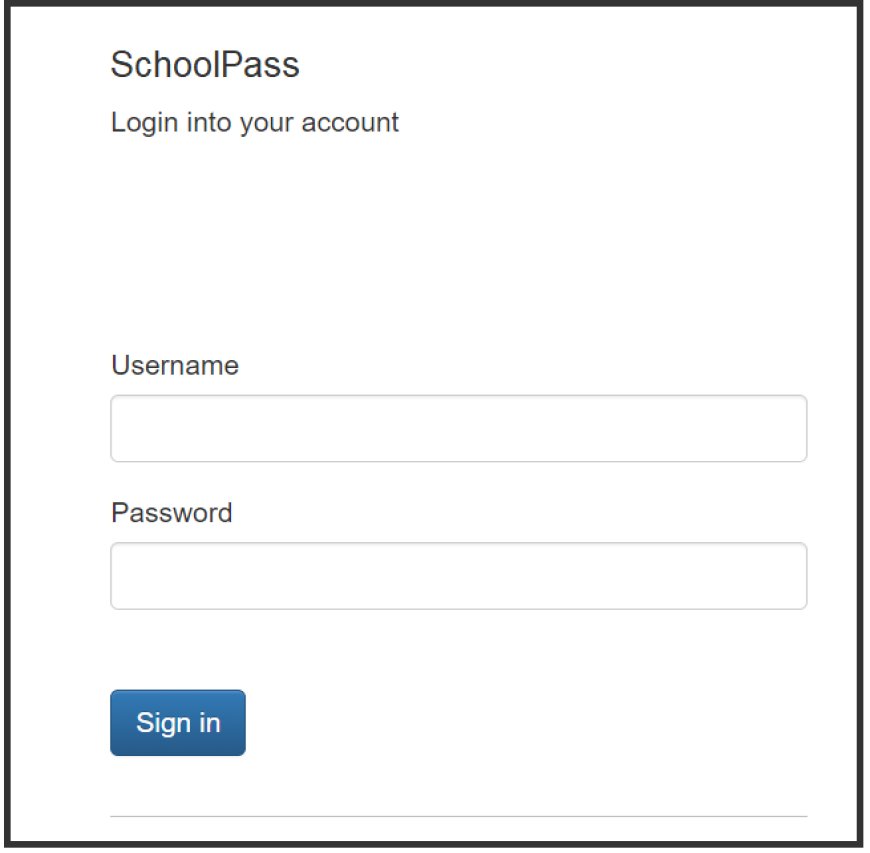
Default login credentials for Admin:
- Username: admin
- Password: admin123
Default login credentials for User:
- Username: user
- Password: 123456
Note: you must change default admin and user password.
First Step:
After logging in, the first step is to change password for “admin” and “user”, you can change it form user profile for admin and for user “Users list” using record edit option.

Second Step:
The second step is to update Website Name and School Name in the “application settings” page.

Website name and school name linked to barcode on the card. If your SchoolPass application is in subfolder (not in web root folder) URL must be like this “https://mydomain.com/schoolpass/”.
Third Step:
The second step is to update necessary helping data list on “Master Data” page.
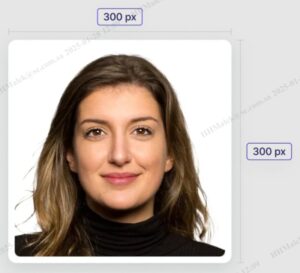
Image:
Student or staff picture recommended size must be between 250-300 pixels (300×300 px).
Example!
If you have any queries, please contact us: [email protected]